During electronic device repairs or screen replacements, users often encounter a common issue: how to remove an LVDS cable. The LVDS cable serves as a critical connection between the motherboard and display, enabling high-speed, low-power data transmission. However, due to its precision connectors and delicate pins, improper removal methods can easily cause damage, resulting in screen failure or motherboard malfunction.
Drawing on professional expertise, this guide provides a safe and practical approach to removing LVDS cables. It helps you avoid common risks during disassembly, ensuring your device remains stable and reliable.
What is an LVDS Cable?
Before delving into how to remove an LVDS cable, it is essential to understand the nature of an LVDS cable. LVDS, short for Low Voltage Differential Signaling, is a technology that achieves high-speed, low-power data transmission using low-voltage differential pairs. Unlike traditional single-ended signals, LVDS transmits voltage signals of equal magnitude but opposite polarity through two conductors. The receiver detects only the voltage difference between them. This differential approach significantly enhances interference resistance while enabling high-speed transmission at hundreds of Mbps or even Gbps levels within a low voltage swing range. Consequently, it is widely adopted in display systems.
In practical devices, the LVDS cable serves as the high-speed signal bridge between the motherboard and the display panel. It not only transmits pixel data and clock signals but may also handle auxiliary functions like backlight control. To meet the display’s requirements for high-resolution, low-latency signal transmission, LVDS cables typically employ twisted-pair construction and shielding, with strict control of differential impedance (approximately 100Ω) to ensure stable, interference-free images.
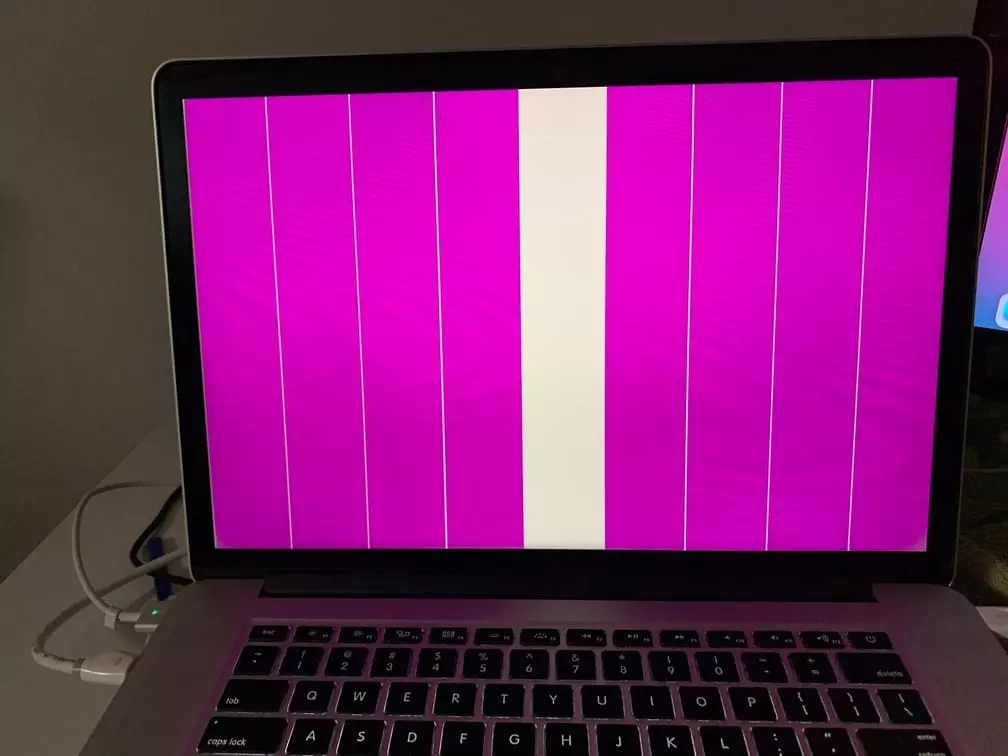
However, precisely because of its intricate structure, the LVDS cable’s interfaces and pins are exceptionally fragile. Common LVDS connectors (such as I-PEX, Hirose, JST, etc.) typically feature fine-pitch designs with densely packed latches and pins. Any rough handling can cause pin bending, pad detachment, or even connector damage. Damage can result in minor issues like blank screens or color abnormalities, or more severely, motherboard failure. Therefore, when physically disconnecting LVDS cables, utmost caution must be exercised. Follow standardized procedures to prevent irreversible risks caused by human error.
Preparations Before Removing the LVDS Cable
Before performing the “how to remove LVDS cable” procedure, thorough preparation is essential to ensure safety and precision.
Power Disconnection and Safety Precautions
- Completely shut down the device and unplug the power adapter.
- For laptops, remove the battery to prevent residual current from damaging the motherboard and LVDS interface.
- Wear an anti-static wrist strap to prevent electrostatic discharge from damaging delicate circuits.
Prepare Appropriate Tools
- Precision screwdriver: For removing device casing screws.
- Plastic pry tool/disassembly tool: Avoid scratching interfaces or cables with metal tools.
- Anti-static mat: Serve as an operational surface to enhance protection levels.
Optimize the operating environment
- Perform operations in a clean, tidy, and well-lit environment.
- Ensure the work surface is free of dust and debris to prevent contamination of interface areas.
- Store small screws and components in categorized containers to prevent loss.
By following these preparatory steps, you can effectively reduce operational risks and avoid damage to the LVDS cable or device due to negligence.
How to Remove an LVDS Cable?
After powering down the device and preparing your tools, you can begin the actual removal process. Since removing an LVDS cable involves delicate connectors and fine pins, proceed with extreme care and patience.
Step 1: Open the Device Housing
Using precision screwdrivers, remove all securing screws according to the device type (laptop/monitor/TV, etc.) and its specific screw pattern. For some devices, gently pry along the housing seams with a plastic pry tool to avoid damaging the casing or clips through excessive force.
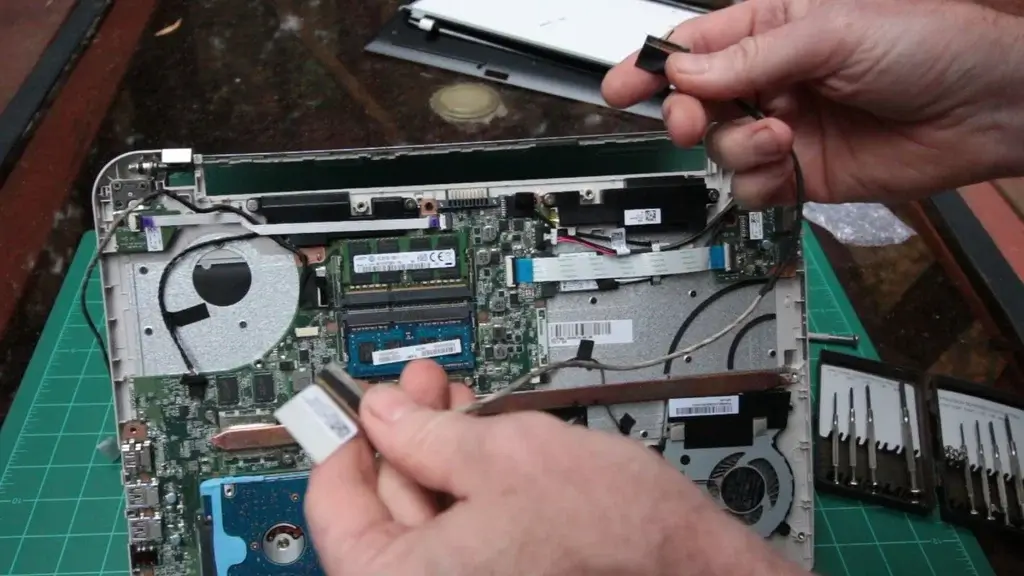
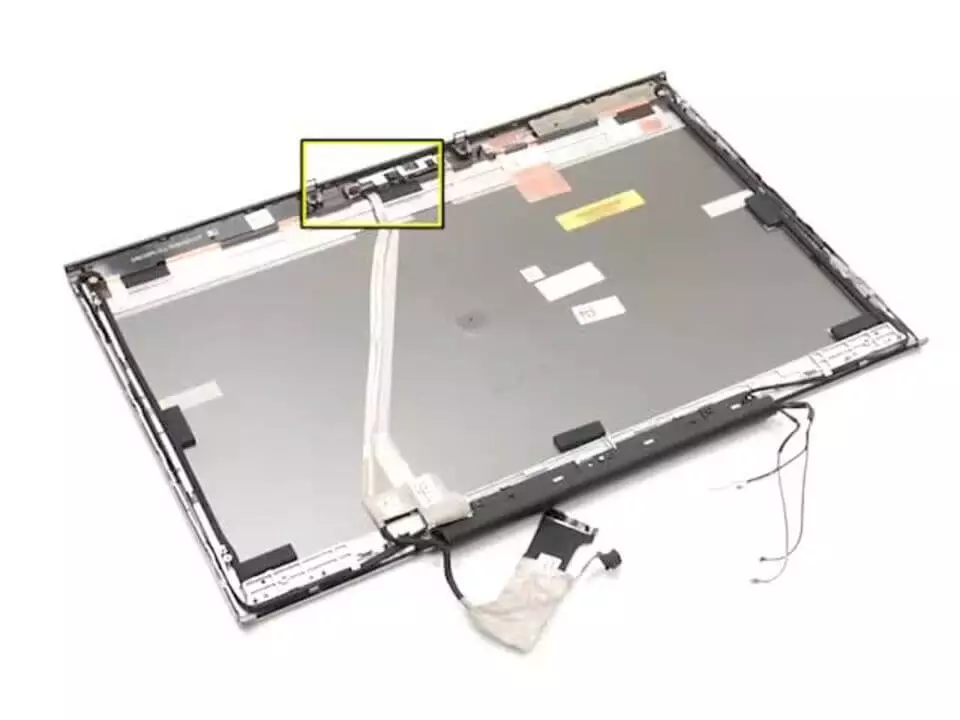
Step 2: Locate the LVDS Cable Connector
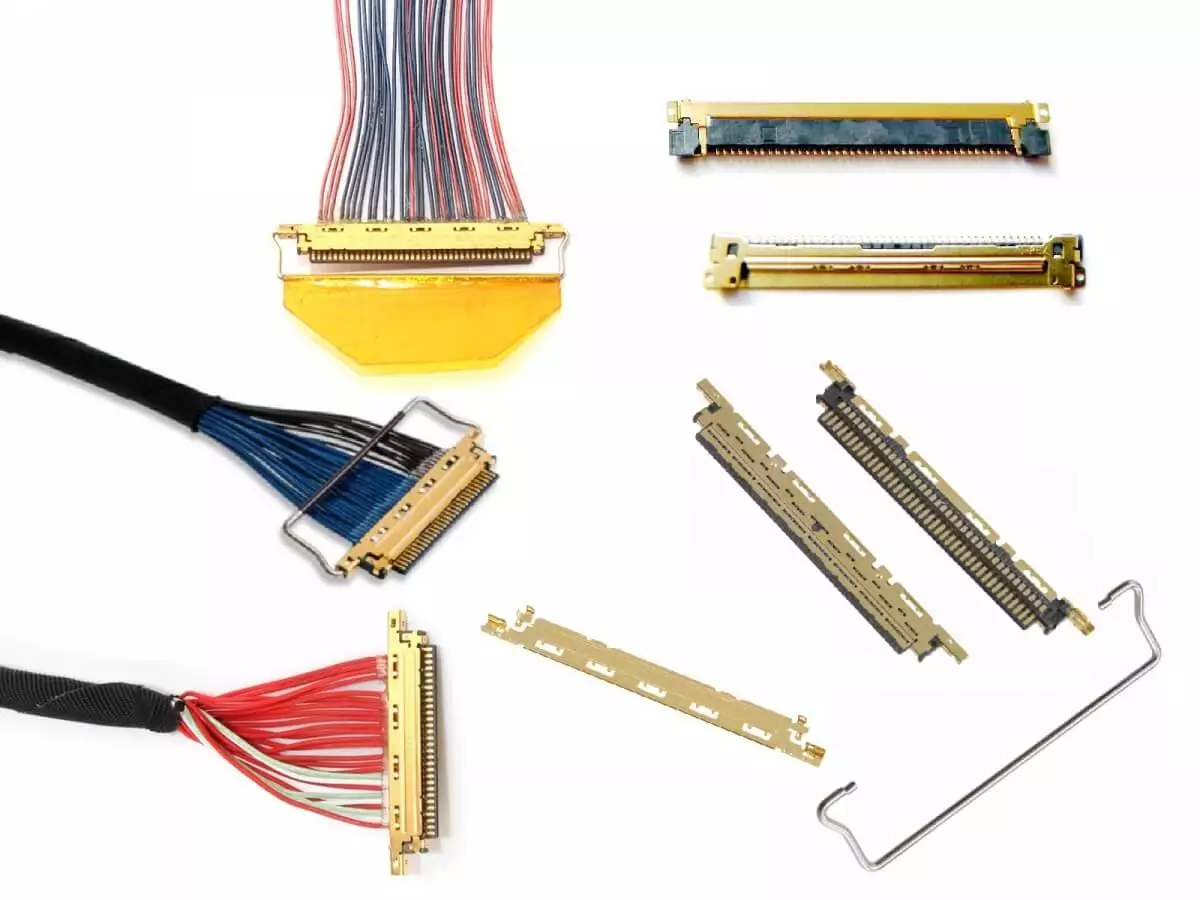
In laptops, the LVDS cable is typically located between the motherboard and the screen. In monitors or TVs, it is usually near the rear panel of the screen. The connector is typically a fine-pitch white or black socket connected to a flat or multi-strand shielded cable.
Step 3: Identify the Connector Structure
Common LVDS connectors include I-PEX, Hirose, and JST, which often feature latches or locking mechanisms to secure the cable. Examine the connector’s design to determine the latch’s release direction, preventing breakage from improper force.
Step 4: Unlock the Connector
If the connector has a latch, gently pry it open using a fingernail or plastic pry tool. Never use metal tools or excessive force. For plug-in connectors, apply even pressure along the connector’s axis; avoid shaking it up and down.
Step 5: Remove the LVDS Cable
Hold both sides of the connector firmly with both hands and slowly pull the LVDS cable out horizontally. Avoid pulling at an angle or yanking forcefully to prevent bent pins or solder joint failure.
Step 6: Inspect Connector and Cable
After removing the LVDS cable, inspect the connector pins for bending or damage and check the cable end for shielding integrity. Replace or repair any abnormalities before reassembly.
Common Issues and Solutions During Disassembly
| Common Problem | Main Cause | Solution |
|---|---|---|
| Connector won’t come out | Connector has latch/lock not released | Observe the connector type, unlock the latch first, then pull out gently in a horizontal direction |
| Bent or damaged pins | Excessive force or pulling at an angle | Hold the connector housing instead of the cable, pull out evenly and horizontally |
| Tape or adhesive too tight | LVDS cable secured with strong tape or glue | Use tweezers or a plastic spudger to lift, apply mild heat to soften adhesive before removal |
| Static discharge damage | No ESD protection, direct handling of contacts | Wear an anti-static wrist strap and ground yourself, avoid touching gold fingers |
| No display or distorted screen after reassembly | Connector not fully seated or pin misalignment | Reinsert the cable, ensure proper alignment, push fully in, and lock the latch |
Professional Advice: When Should You Seek an Expert?
While ordinary users can typically remove an LVDS cable from a laptop or monitor themselves, certain situations warrant professional intervention. For instance: when the device is high-value, features complex interface structures, requires simultaneous replacement of components like the screen or motherboard, or belongs to automotive, medical, industrial, or other applications demanding extreme reliability. In these scenarios, non-professional handling can easily cause irreversible damage or even safety hazards. Seeking professional assistance not only mitigates risks but also ensures the quality and stability of both disassembly and subsequent reassembly.
FAQs
1. Can I remove an LVDS cable without damaging it?
Yes, provided you disconnect the power first, confirm the latches are unlocked, and then pull it out evenly along the horizontal direction. This prevents damage to the pins and connector.
2. How do I know if my LVDS cable is faulty after removal?
If screen flickering, distortion, or no display persists after reinstallation, the cable may be damaged. Confirm by replacing the cable or testing the connector pins.
3. Are LVDS cables universal or device-specific?
LVDS cables are typically device-specific. Different models may have entirely distinct interface designs, pin definitions, and shielding structures, making interchangeability impossible.
Conclusion: Key Considerations for Safe LVDS Cable Removal
This article demonstrates that removing an LVDS cable is not a simple plug-and-play operation. It requires meticulous execution following standardized procedures while ensuring power disconnection, static protection, and damage prevention. Every step—from locating the interface and unlocking the latch to smoothly extracting and reinstalling the cable—directly impacts the display stability and lifespan of the device.
For general users, LVDS cables on laptops or monitors can be safely removed after thorough preparation. However, in critical applications such as automotive, industrial, or medical settings, reliance on professionals’ expertise and specialized tools is essential to prevent irreversible damage. Only proper handling ensures equipment safety and reliability, avoiding costly consequences from minor oversights.
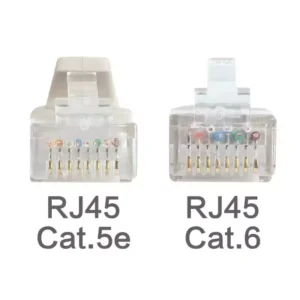
What is the Difference Between Cat5e and Cat6 RJ45 Connectors?
Table of Contents Wh
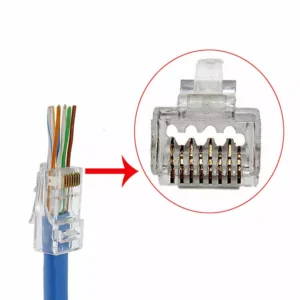
What is RJ45 Connector?
Table of Contents In
Top 10 LVDS Cable Manufacturers in World 2026
Table of Contents In

How to Check Lvds Cable?
Table of Contents In