In laptops, monitors, automotive displays, and industrial control systems, the LVDS cable serves as the high-speed signal pathway between the motherboard and the screen. When issues arise, they often manifest as black screens, flickering, distorted images, or abnormal colors. For many users, the most immediate question is: how to check the LVDS cable to quickly pinpoint the cause of the malfunction? Proper testing not only prevents misdiagnosis but also reduces unnecessary replacement costs and repair time.
This article provides a systematic and practical guide covering fundamental knowledge, common fault symptoms, and professional testing methods to help you scientifically determine whether your LVDS cable is functioning properly.
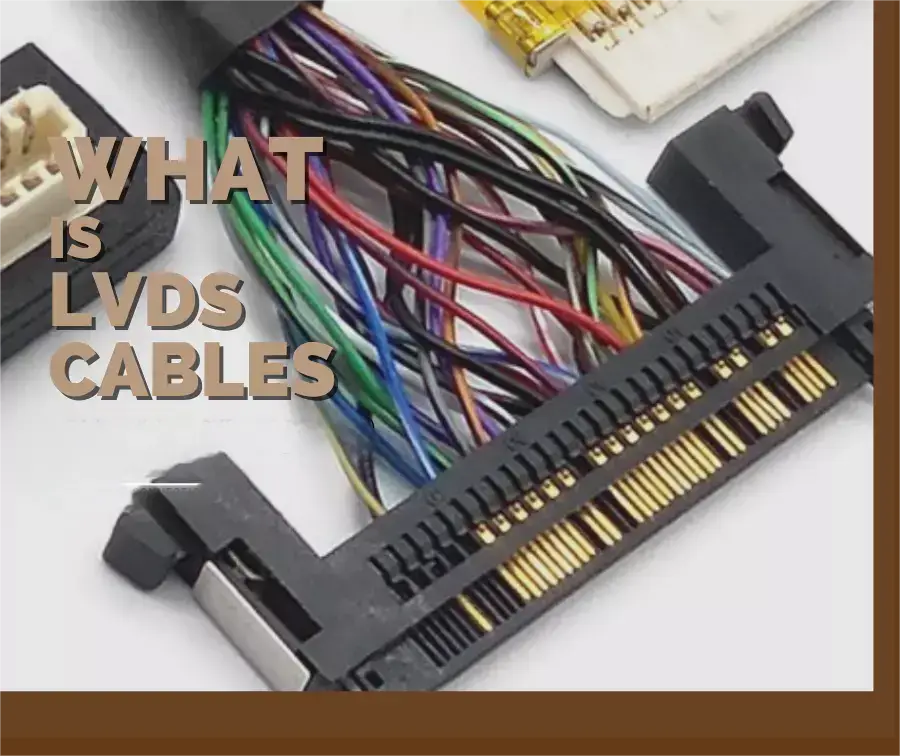
What is an LVDS Cable?
LVDS is a high-speed, low-power data transmission method. It transmits voltage signals of equal magnitude but opposite polarity through two wires. The receiver detects only the voltage difference, effectively reducing electromagnetic interference and ensuring signal integrity.
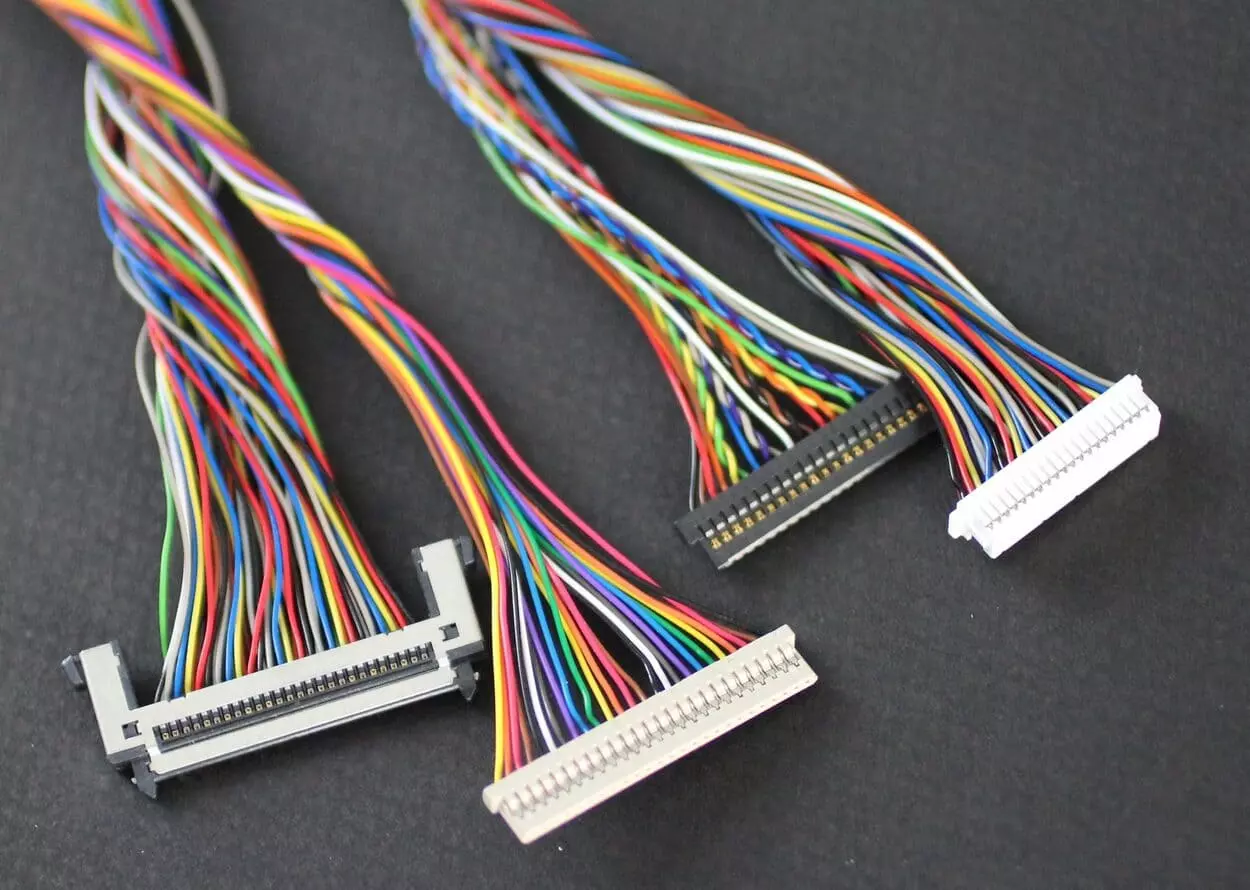
Structure of LVDS Cable
- Twisted Pair: Maintains differential symmetry to reduce noise.
- Shielding Layer: Aluminum foil or braided shielding to suppress external EMI interference.
- Impedance Control: The entire cable must maintain impedance within 100Ω ±10% to prevent reflections.
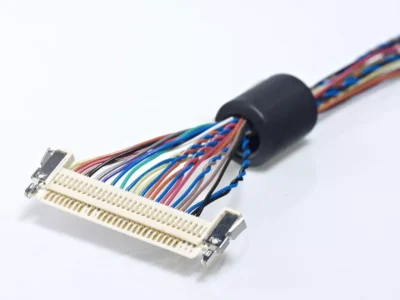
- Dedicated Connectors: Common models include I-PEX, Hirose, and JST, ensuring stable connections.
Why Does LVDS Cable Affect Display Stability?
LVDS cables play a critical role in display systems. They serve as the “high-speed bridge” between the motherboard and the screen. Any cable breakage, impedance mismatch, shielding damage, or loose connectors will directly impact the display signal, manifesting as black screens, flickering, snowflake patterns, color abnormalities, and other faults. This is precisely why properly testing the LVDS cable remains a crucial step when diagnosing display issues.
Common LVDS Cable Malfunction Symptoms
- Screen flickering or juddering: Display fluctuates between bright and dim, or exhibits slight trembling. Common causes include poor interface contact or shielding failure.
- Black screen or intermittent display loss: Screen remains unresponsive after powering on, or briefly displays before immediately turning off. Possible causes include cable breakage, loose pins, or complete damage.
- Screen Distortion and Snowflake Patterns: Random dots, horizontal lines, or snowflake-like interference appear on the screen. Typically related to signal attenuation, impedance mismatch, or damaged shielding.
- Color Abnormalities: Color casts (e.g., overall red, green, or blue tint) often result from an open circuit in a differential pair or bent pins.
- Resolution or refresh rate instability: Stuttering, frame drops, or blurring at high resolutions. This may indicate insufficient LVDS cable bandwidth or internal conductor damage.
- Failure after bending: Temporary screen failure during flipping, closing the lid, or vibration. This often indicates cable fatigue or breakage from prolonged use.
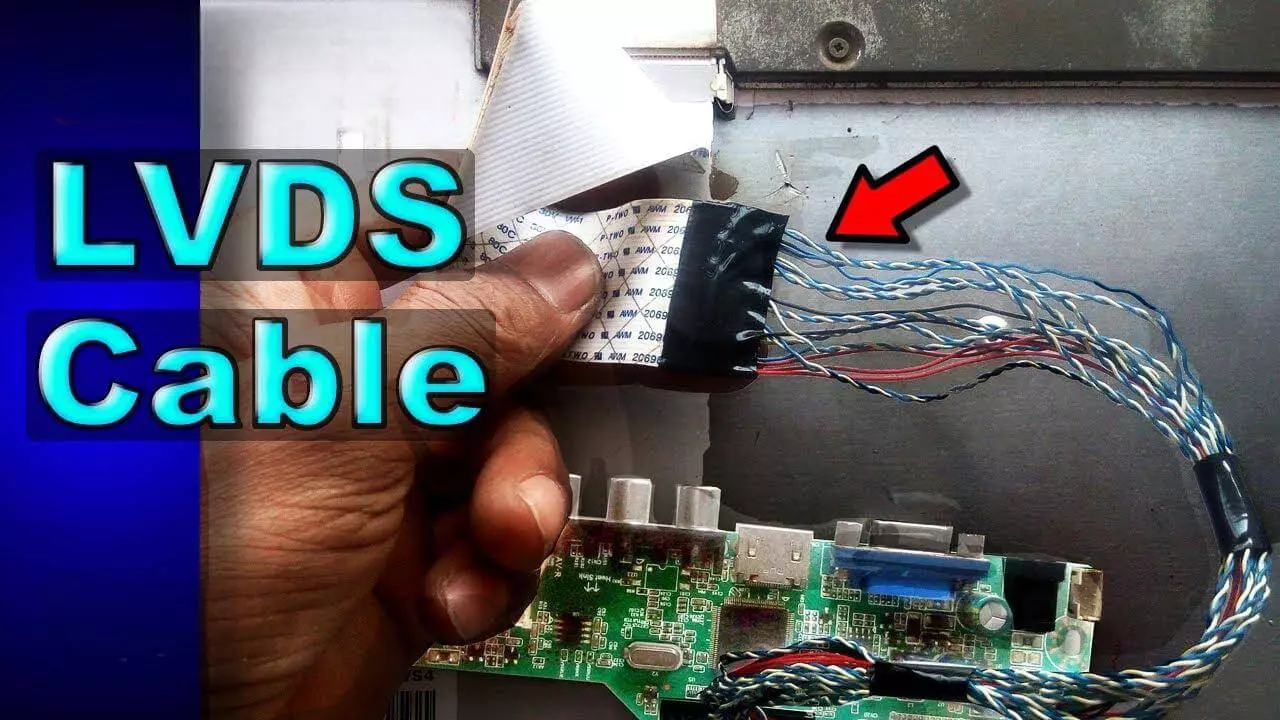
How to Check LVDS Cable?
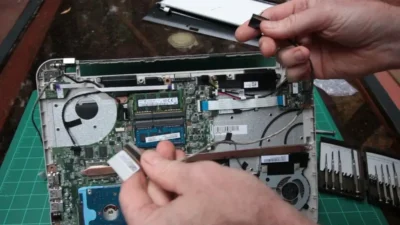
1. Visual Inspection
- Examine cable appearance: Check for wear, cracks, or flattening on the outer jacket.
- Inspect shielding: Look for damage or exposed metal.
- Inspect connectors: Check for bent or oxidized pins, and ensure latches are secure.
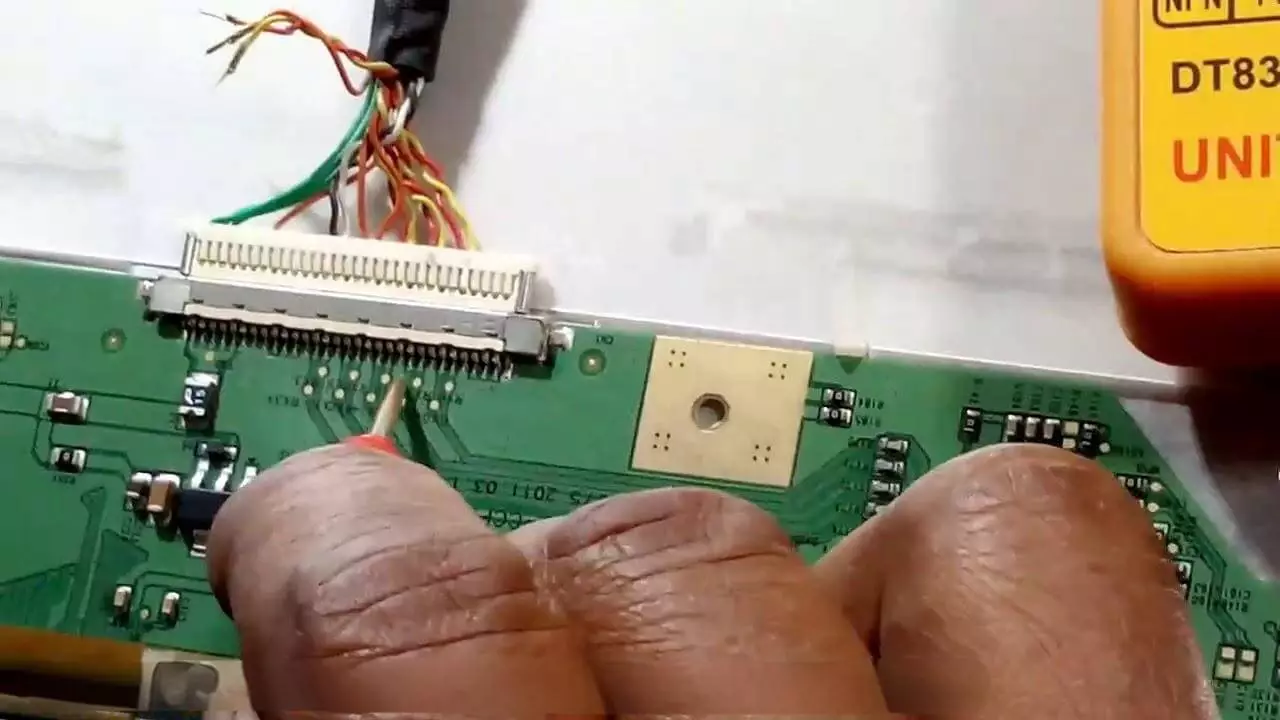
2. Multimeter Testing
- Continuity Test: Use a multimeter to check pin-to-pin continuity at both cable ends.
- Short Circuit Test: Verify no short circuits exist between adjacent pins.
- Note: Perform testing only when power is completely disconnected to prevent equipment damage.
3. Signal Integrity Test
- Use a TDR to measure differential impedance, ensuring it remains within 100Ω ±10%.
- Observe the eye diagram using an oscilloscope or dedicated tester to assess signal attenuation, jitter, and noise.
- In high-end applications (automotive, medical devices), perform BER (Bit Error Rate) testing to verify transmission stability.
4. Substitution Method
- Replace the original cable with a known-good LVDS cable to quickly determine if the fault originates from the cable itself.
- Simple and efficient, this method is particularly suitable for repair scenarios involving laptops or monitors.
Tips of Testing LVDS Cables
- Ensure complete power disconnection: Before inspection, power must be disconnected from the device, and batteries or power adapters must be removed to prevent short circuits or residual high voltage from damaging the motherboard and screen.
- Anti-static measures are essential: LVDS Cable interfaces are precision components sensitive to static electricity. Wear an anti-static wrist strap and work on an anti-static mat during handling to prevent secondary failures caused by static discharge.
- Avoid Direct Contact with Gold Contacts: Once contaminated or oxidized, LVDS Cable contacts increase contact resistance, causing signal distortion. During operation, only grip the outer casing or insulated parts; do not touch the contacts directly with your hands.
- Maintain Gentle Handling: Interface pins and latches are fragile. When inserting, removing, or testing, apply level, even pressure to prevent irreversible damage such as bent pins or broken latches caused by excessive force.
- Use appropriate tools: Select suitable multimeter probes, plastic prying tools, or magnifying glasses. Never use sharp metal objects to pry interfaces, as this may cause scratches or short circuits.
- Document disassembly/reassembly: Before testing, photograph or mark wiring and interface orientations. This prevents incorrect pin definitions or reversed interface insertion during reassembly, which can cause display abnormalities.
How to Distinguish Between LVDS Cables and eDP/MIPI Cables?
During actual testing, many users confuse LVDS cables with eDP/MIPI cables due to their similar appearance and frequent use of fine-pitch connectors. However, their signal types, pin definitions, and application scenarios are entirely different. Misidentification can invalidate test results or even damage equipment.

1. Different Signal Transmission Methods
- LVDS: Based on low-voltage differential signaling, using multiple pairs of twisted-pair cables for transmission. Highly dependent on impedance control (approximately 100Ω).
- eDP (Embedded DisplayPort): Based on the DisplayPort protocol, it employs higher-bandwidth serial transmission, supporting higher resolutions and refresh rates.
- MIPI DSI: Commonly used in smartphones and tablets, it utilizes high-speed serial differential signals with extremely high bandwidth efficiency, but features a more compact interface.
2. Interface Pin Count and Definitions Differ
- LVDS Cable: Typically includes multiple differential pairs + power + backlight control pins.
- eDP/MIPI: Fewer pins with a more compact layout, usually lacking traditional LVDS backlight control signals.
3. Different Application Scenarios
- LVDS: Commonly found in traditional laptops, monitors, and automotive displays.
- eDP: Primarily used in newer laptops and high-resolution monitors.
- MIPI: Mainly found in mobile devices and small-sized high-resolution screens.
Quick Identification Methods
- The most reliable approach is to check the interface type via the panel model or motherboard specification sheet.
- For visual identification only: LVDS cables are generally thicker, wider, and have more pins, while eDP/MIPI cables are slimmer and more compact.
Best Practices: Ensuring Long-Term Reliability of LVDS Cables
To maintain stable performance of LVDS cables throughout the device lifecycle, it is crucial to control design and installation from the outset. First, during the selection phase, focus on electrical performance to ensure impedance is controlled within 100Ω ±10%. Prioritize shielded cable structures to minimize signal interference. During installation and routing, avoid excessive bending or prolonged pinching. Allow reasonable bend radii and slack to minimize fracture risks from mechanical fatigue.
Second, LVDS cables must meet distinct requirements across different environments. Select appropriate insulation and sheathing materials based on application needs. For instance, automotive electronics demand high/low temperature resistance and vibration tolerance, while industrial settings prioritize abrasion and oil resistance. During prolonged equipment operation, regularly inspect interfaces for looseness and pins for oxidation, maintaining cleanliness. Finally, selecting products certified by international standards such as UL, RoHS, and IATF16949, and partnering with experienced suppliers maximizes LVDS cable reliability.
Conclusion: The Significance of Properly Testing LVDS Cables
In summary, how to check an LVDS cable is not merely an operational procedure but a critical step in ensuring the long-term stable operation of display systems. From basic visual inspections to continuity testing with multimeters, and further to professional methods like TDR, eye diagram analysis, and replacement testing, these tiered approaches enable users to swiftly identify problem sources across various scenarios. Simultaneously, the testing process must strictly adhere to power-off protocols, anti-static precautions, and gentle handling to prevent secondary damage caused by human error.
For general laptop or monitor users, basic testing methods suffice for most issues. However, in high-reliability applications like automotive, industrial, and medical sectors, specialized testing tools and supplier technical support are essential. Only by combining scientific methods with proper practices can one achieve precise troubleshooting, minimize rework and costs, and ensure LVDS cables maintain optimal performance throughout their entire lifecycle.
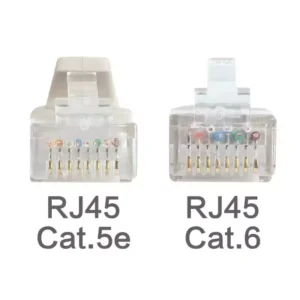
What is the Difference Between Cat5e and Cat6 RJ45 Connectors?
Table of Contents Wh
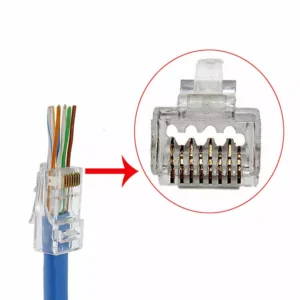
What is RJ45 Connector?
Table of Contents In
Top 10 LVDS Cable Manufacturers in World 2026
Table of Contents In
How to Remove Lvds Cable?
Table of Contents Du