Whether you’re doing DIY circuit modifications, automotive electrical repairs, or custom wire harness assembly, you may encounter this question: how to crimp two wires together. Crimping is a widely used process in electrical connections. Compared to simple twisting or welding, it provides a more stable and secure mechanical connection while maintaining high conductivity.
In this guide, we will provide a detailed professional analysis of the tools and materials required for crimping two wires, standard operating procedures, common mistakes and how to avoid them, as well as best practices for different application scenarios. As a brand specializing in cable and wire harness solutions, Linkwings will draw on years of engineering experience to offer authoritative advice, helping you achieve reliable, durable, and safety-compliant crimping operations.
What is wire crimping? Why choose crimping?
Wire crimping refers to the use of specialized crimping tools to mechanically compress the exposed metal conductors of wires with terminals, creating a stable electrical connection and mechanical fixation. This method differs from welding or simple twisting, as it relies on the cold welding effect between metals to minimize contact resistance between the conductor and terminal, ensuring long-term stable conductivity.
So, why is crimping considered the optimal choice in most electrical connections?
1. High reliability
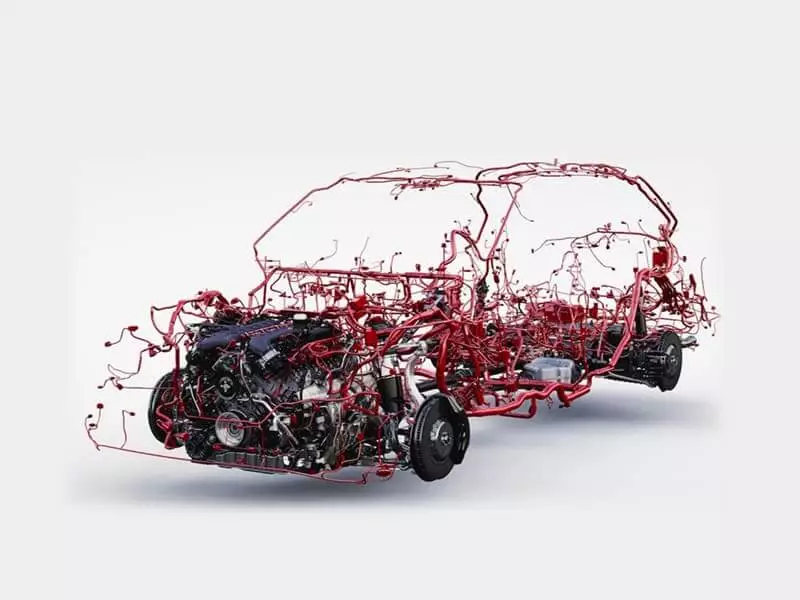
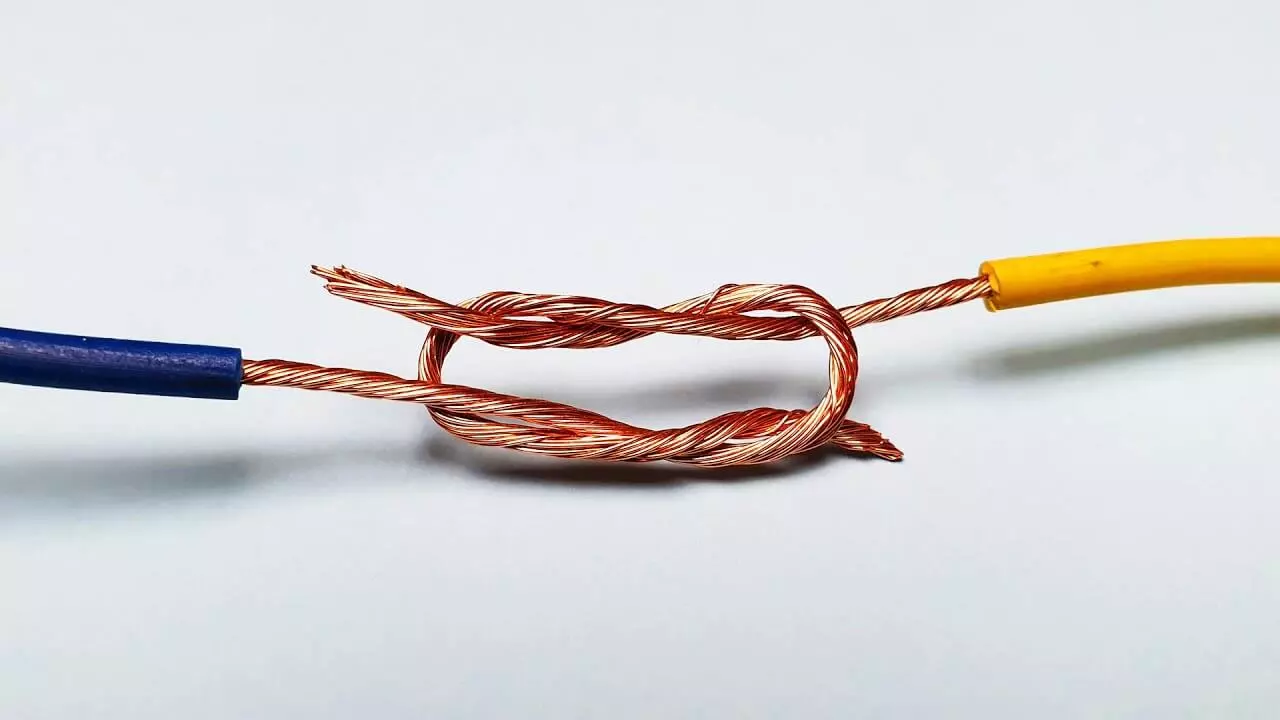
Crimped connections are far superior to hand-twisted connections in terms of mechanical strength and electrical stability. Terminals that have been properly crimped will not loosen due to vibration or pulling, and are widely used in automotive wiring harnesses, aviation wiring harnesses, and industrial control systems.
2. Consistency and repeatability
Using qualified crimping pliers and terminals ensures consistent quality in every connection during mass production. This is an advantage that welding or manual wrapping cannot match.
3. Enhanced Safety
Crimping does not require additional heat sources (such as soldering irons), thereby avoiding risks such as insulation damage or solder penetration caused by high temperatures. This makes it particularly safe for electrical repairs or operations in confined spaces.
4. Compliance with International Standards
Crimping technology complies with multiple international electrical standards (such as UL 486A/B, IPC/WHMA-A-620, MIL-SPEC) and is recognized as the mainstream process in the electronics, electrical, and automotive industries.
5. Suitable for Various Applications
Whether it’s vibration-resistant connections in automotive circuits, safe wiring in household appliances, or long-term stable power supply in industrial equipment, crimping provides high-quality solutions.
List of tools and materials needed for crimping wires
To properly crimp two wires together, you need to prepare the right tools and materials. Choosing the right equipment not only improves the crimping quality, but also avoids common mistakes, ensuring the stability and safety of the connection.
Essential Tools
- Wire Stripper: Used to remove the insulation layer from the surface of wires. It is generally recommended to strip 5–7 mm of insulation.
- Crimping Tool: The core tool for crimping, used to firmly press terminals onto wire conductors.
- Wire Cutter: Used to cut wires, ensuring a smooth cut and preventing deformation of the conductor.
Common Materials
- Crimp Terminals/Connectors: Terminals must be used in conjunction with crimping to ensure mechanical and electrical connections.
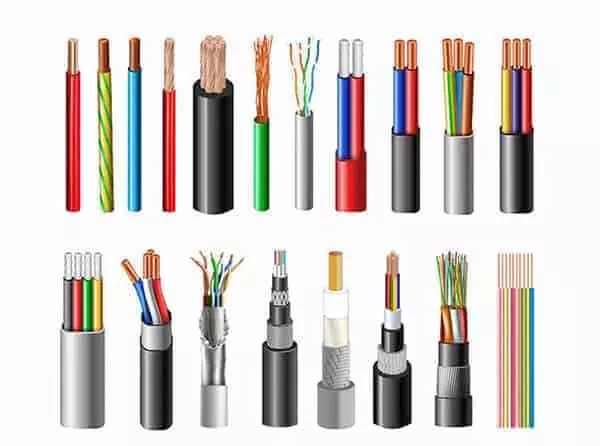
- Wires: Select wires of different specifications (AWG specifications) according to the actual situation.
- Heat Shrink Tubing/Electrical Tape: Used for secondary protection after crimping to increase insulation, moisture resistance, and mechanical strength.
Step-by-step guide: How to crimp two wires together
Once you have the right tools and materials ready, you can follow the steps below to crimp two wires together. Please follow the steps carefully to ensure that the connection is safe, secure, and meets industry standards.
Step 1: Strip the wire insulation
Use wire strippers to remove approximately 5–7 mm of insulation from the end of the wire (adjust slightly according to the terminal specifications).
Note:
- Do not damage the copper wires when stripping, as this will affect conductivity and mechanical strength.
- Keep the stripped end neat to prevent the copper wires from spreading.
Step 2: Select and prepare the appropriate crimp terminals
Select terminals that match the wire’s AWG specification and application scenario:
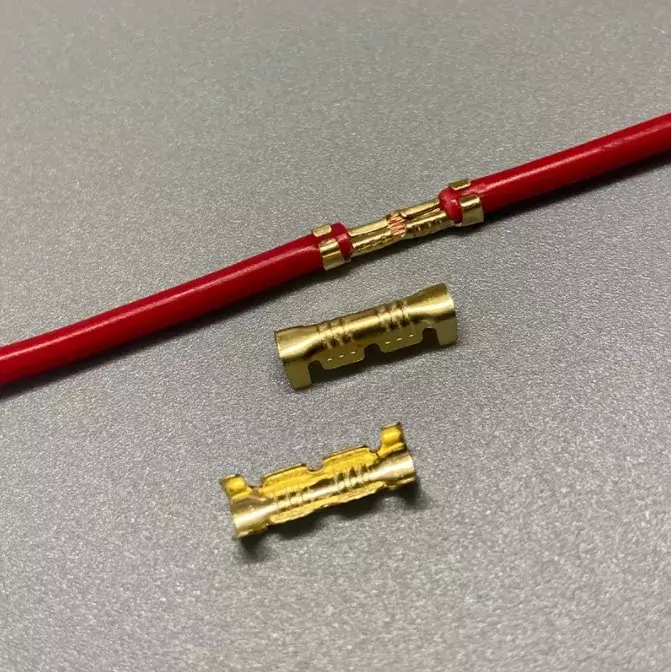
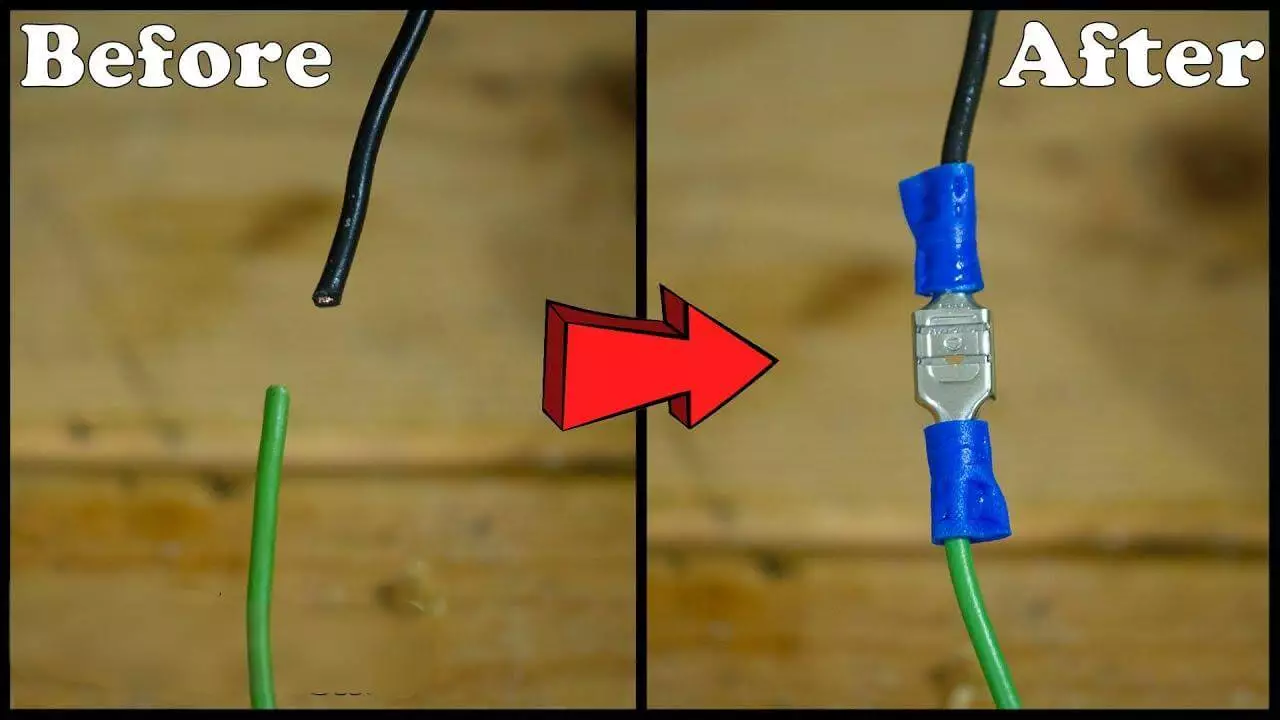
- Butt Connector: Most commonly used for connecting two wires.
- Closed-End Connector: Suitable for residential and maintenance scenarios, offering better insulation.
- Open-End Terminal (Spade/Fork Terminal): Commonly used in terminal blocks.
Ensure the terminal interior is clean, free of oil, and undamaged.
Step 3: Insert the wire into the terminal
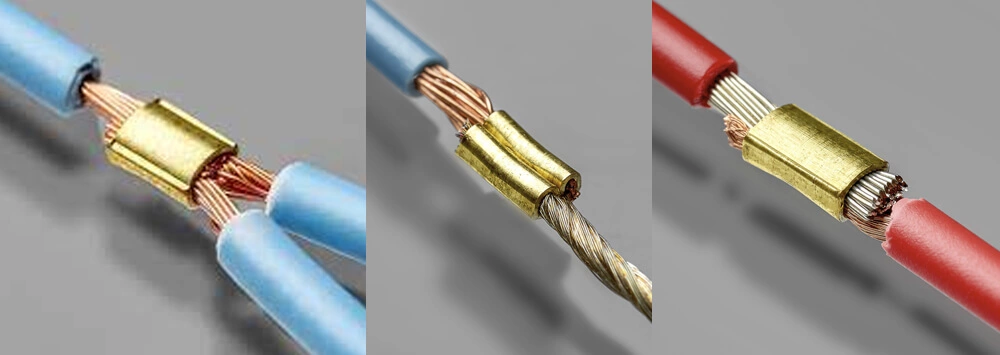
- Insert the stripped copper wire completely into the terminal until the copper wire is no longer visible or is flush with the bottom of the terminal.
- If you need to crimp two wires, you can insert both ends into each side of the sleeve terminal and then crimp them.
- Tip: Twist the stranded wire gently to make it tighter and easier to insert.
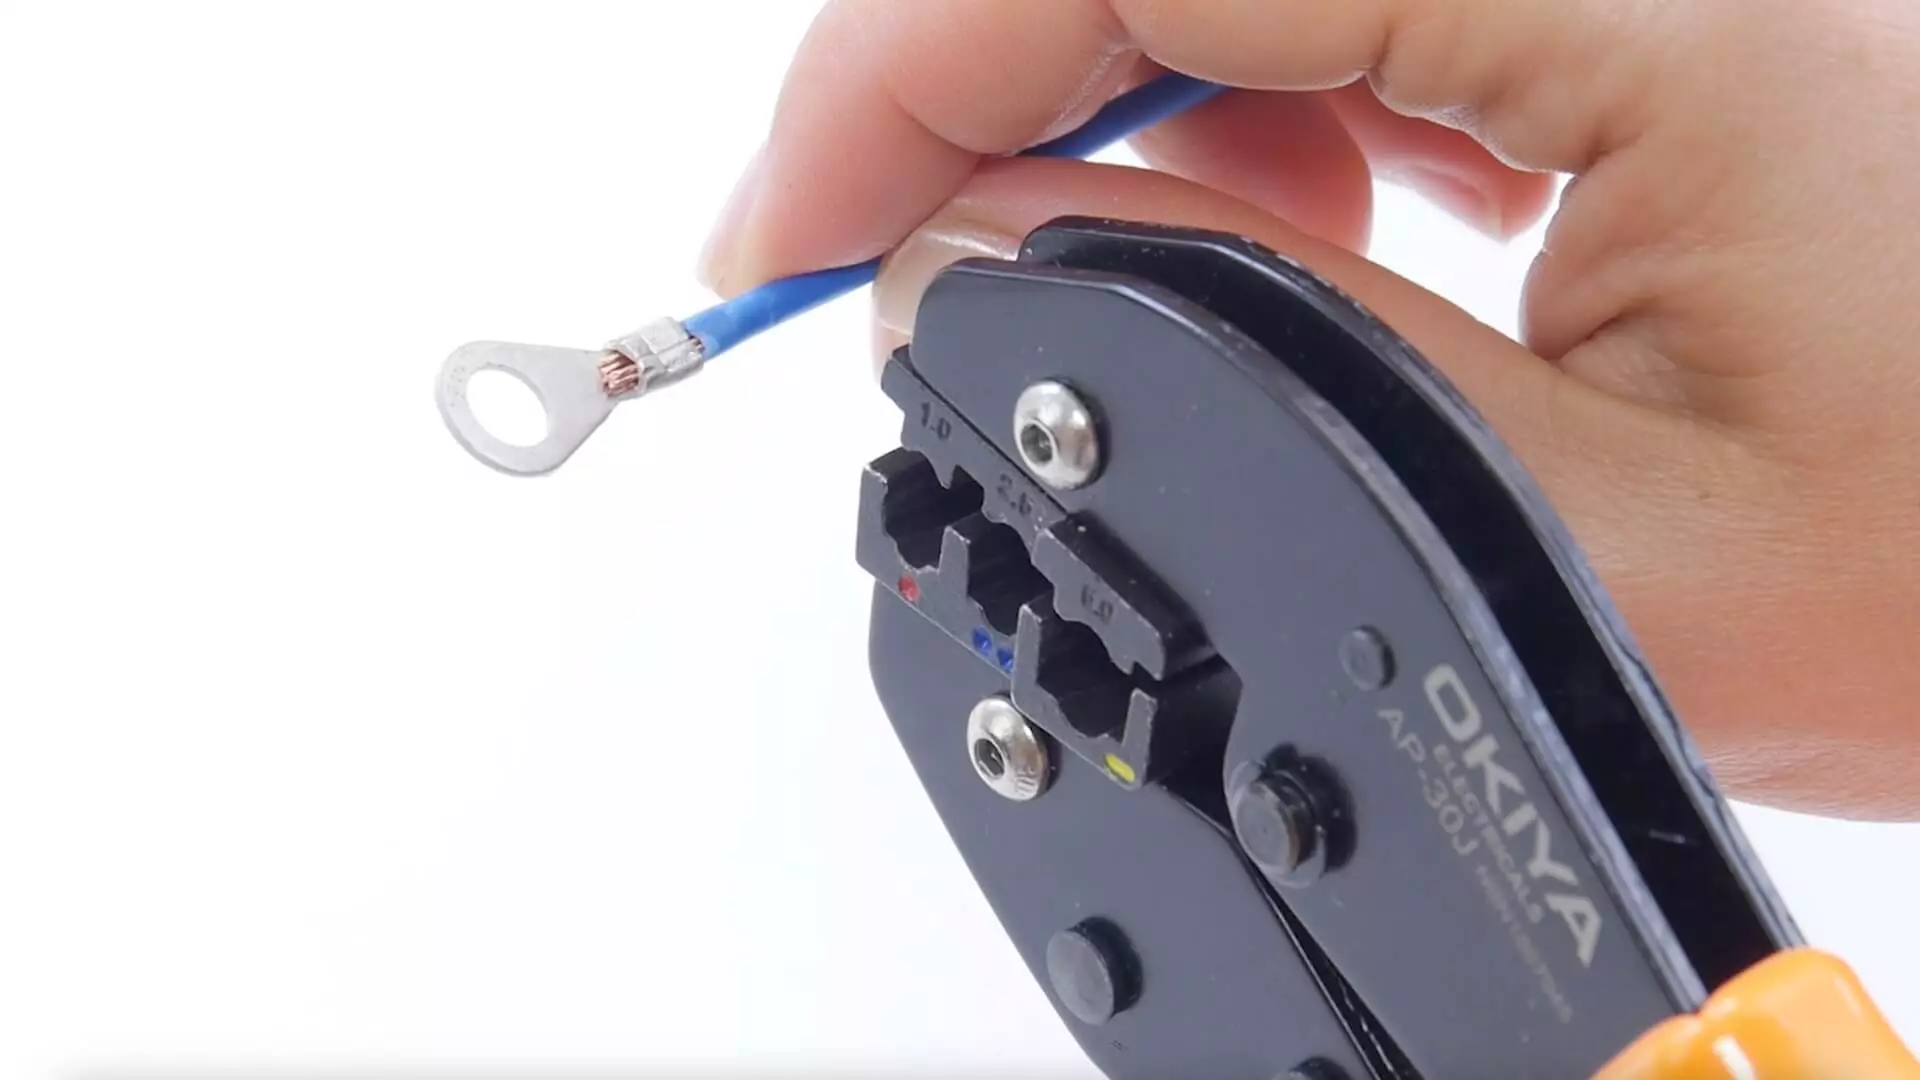
Step 4: Use crimping pliers to crimp
- Place the terminal into the corresponding mold slot of the crimping pliers.
- Ensure the terminal is properly positioned, with the copper wire fully within the crimping area.
- Apply force until the ratchet of the crimping pliers releases (if using a ratchet-style tool).
Important notes:
- Do not recrimp the same location, as this may cause metal fatigue in the terminal.
- Use specialized crimping pliers; alternative tools such as pliers are not recommended.
Step 5: Check the crimping quality
- Tensile test: Gently pull the wire to ensure it does not loosen or come off.
- Visual inspection: The terminals show no obvious deformation, and the crimping marks are clear and uniform.
- Conductivity test (optional): Use a multimeter to test whether the circuit is conductive.
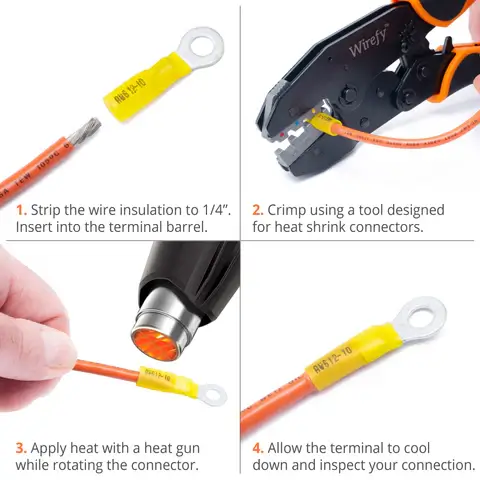
Step 6: Insulation and Protection Treatment
- Apply heat-shrink tubing over the crimped area, then use a heat gun to heat and shrink it, forming a protective layer.
- If heat-shrink tubing is unavailable, use insulating tape to wrap the area.
- This step is particularly important in high-humidity or vibration-prone environments (e.g., automotive/outdoor equipment).
Common Errors and Troubleshooting
In actual operation, even with the right tools and materials, it is still easy to encounter some crimping problems. Incorrect crimping can not only lead to poor contact, but also cause overheating, short circuits, or even electrical faults. The following summarizes the most common errors and professional troubleshooting methods to help you ensure that every crimp is reliable and safe.
❌ Error 1: Improper wire stripping length
Problem manifestation:
- Stripping too short → Copper wire does not fully enter the terminal, resulting in insufficient contact area.
- Stripping too long → Copper wire is exposed outside the terminal, posing a risk of short circuit.
Troubleshooting method: Check the transparent part of the terminal or port to ensure that the copper wire reaches the bottom of the terminal and there is no exposed metal on the outside.
❌ Error 2: Using mismatched terminals or wire gauges
Problem symptoms:
- The wire is too thin and tends to loosen after crimping.
- The wire is too thick and cannot fully enter the terminal, resulting in poor crimping.
Troubleshooting method: Confirm that the AWG rating of the wire matches the nominal range of the terminal. Refer to the terminal data sheet if necessary.
❌ Error 3: Unsuitable crimping tool
Problem manifestation:
- Using ordinary pliers instead of crimping pliers → Uneven crimping, prone to loose connections.
- Using the wrong mold groove → Irregular crimp marks, unable to ensure conductivity.
Troubleshooting method: Check whether the crimp marks are clear and uniform; they should not come loose easily during tensile testing.
❌ Error 4: Crimp too loose or too tight
Problem symptoms:
- Too loose → Falls off with a light pull, resulting in poor electrical contact.
- Too tight → Copper wires are cut, reducing mechanical strength.
Troubleshooting methods:
- Too loose: Can be detected by gently pulling.
- Too tight: Cut open the crimped area to check for broken copper wires.
FAQs
1. Can wires be crimped without crimping pliers?
Answer: Strictly speaking, it is not recommended to use ordinary pliers, pliers jaws, or other alternative tools to crimp wires. This makes it difficult to ensure uniform pressure, which can lead to loose connections or electrical faults, and even increase safety risks. If you really don’t have crimping pliers, you can temporarily use pliers with additional force, but this should only be done in low-current, low-risk scenarios and must be reinforced with insulating tape or heat-shrink tubing. For long-term reliability, it is recommended to purchase crimping pliers that meet the specifications.
2. Which is better, crimping or welding?
Answer: Crimping and welding each have their advantages and disadvantages. The advantages of crimping include speed, consistency, no need for a heat source, and compliance with industrial standards. Therefore, crimping is almost universally used in automotive, aerospace, and industrial production. Welding is still common in small-scale DIY or electronic repairs, but it may cause weld points to break in vibrating environments. If high reliability is required, especially in automotive and electrical engineering, crimping is generally superior to welding.
3. Is heat shrink tubing required when crimping two wires?
Answer: It is not mandatory, but strongly recommended. Heat shrink tubing provides additional insulation, moisture resistance, and vibration protection, significantly extending the connection’s lifespan. In automotive, outdoor, or humid environments, heat shrink tubing is almost indispensable.
4. What current can a crimped wire handle?
Answer: The current-carrying capacity of crimped wires primarily depends on the wire’s AWG rating and the terminal’s rated capacity, not the crimping process itself. For example, AWG 16 copper wire can carry approximately 10–13A in standard conditions. As long as the crimping process is performed correctly, it will not significantly affect the current-carrying capacity. It is recommended to consult the technical specifications of the wire and terminal in high-load scenarios.
5. Can I crimp two wires using the same terminal?
Answer: Yes, but the terminal size must match the total cross-sectional area of the two wires. In automotive repair or electrical wiring, it is common to use a sleeve terminal to crimp two wires. If the terminal is too small, the copper wires may not be fully compressed; if the terminal is too large, it may become loose. It is recommended to strictly follow the specification manual to select the appropriate terminal model.
Conclusion
Learning how to crimp two wires together is not just about making an electrical connection; it is also key to ensuring the long-term stability and safe operation of a circuit. By selecting the right tools, terminals, and wires, and strictly following the standard crimping steps, you can easily achieve a secure, reliable electrical connection that complies with international standards.
Compared to welding or simple twisting, crimping offers significant advantages in automotive, home appliance, and industrial applications because it ensures consistency, durability, and safety. Avoiding common mistakes, enhancing insulation protection, and conducting proper testing are key elements to ensuring successful crimping.
As a brand specializing in wire and harness solutions, Linkwings is committed to providing users with high-quality crimping tools, terminals, and customized harness services. If you seek professional support for DIY projects, electrical repairs, or engineering projects, we invite you to explore Linkwings’ professional solutions, ensuring that every crimping operation meets the highest industry standards and practical application requirements.
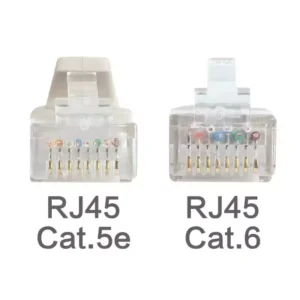
What is the Difference Between Cat5e and Cat6 RJ45 Connectors?
Table of Contents Wh
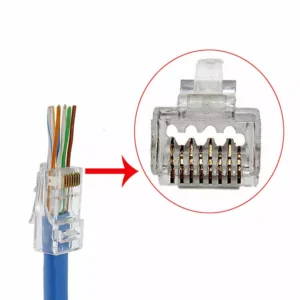
What is RJ45 Connector?
Table of Contents In
Top 10 LVDS Cable Manufacturers in World 2026
Table of Contents In

How to Check Lvds Cable?
Table of Contents In