How to Make an Automotive Wiring Harness?
Home » How to Make an Automotive Wiring Harness?
How to Make an Automotive Wiring Harness?
In this article, we start from the drawing of the wiring harness design, systematically explain the cable cutting, terminal crimping, jacket installation, electrical testing, error avoidance and other key aspects. Constructed a complete process from “planning” to “landing” leads. Each step is based on the actual experience of refining, and strive to let the beginners can also be less detour, so that experienced technicians to find the optimization of the details of the reference.
Why Make an Automotive Wiring Harness?
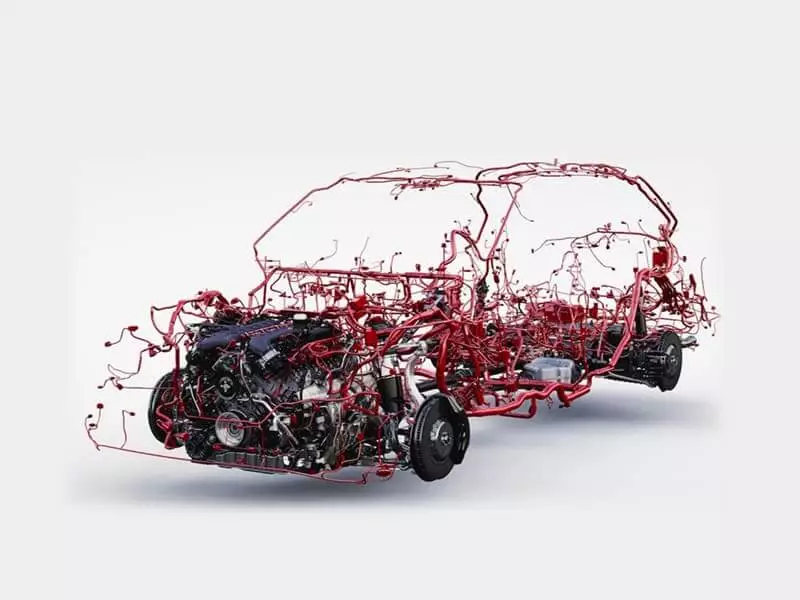
In the modern world of automotive repair, modification and customization, building your own automotive wiring harness has become an increasingly common choice for tech enthusiasts and professionals alike. Whether it’s refurbishing an older classic car, building a motorized conversion project, adding new electronics, or improving vehicle performance and wiring reliability, building your own wiring harnesses offers greater flexibility, control, and a sense of accomplishment.
OEM (Original Equipment Manufacturer) wiring harnesses tend to only work with standardized models and features. When you make feature upgrades (e.g., adding ambient lighting, back-up camera, competitive gauges) or modifications to non-original components (e.g., engine swaps, converting to electric), the OEM wiring harnesses will not be able to meet the wiring needs. With a homemade wiring harness, you can customize the combination of your car’s wiring harnesses exactly according to the needs of your project, as well as make the wiring more scientific and reasonable.
Making your own wiring harness is an effective way to improve your technical skills and understand the electrical structure of your vehicle. Whether you are a DIY enthusiast, a mechanical student or a tuning technician, making a wiring harness that meets your needs is a way to enhance your abilities. It not only exercises the hands-on ability, but also provides a deeper understanding of the connection logic, current load, signal distribution and anti-interference design of each subsystem of the vehicle, laying a solid foundation for more complex projects.
Tools and Materials Needed for Making an Automotive Wiring Harness
To make a set of homemade automotive wiring harness, first you need to prepare a set of basic tools and standard materials. These tools can help you efficiently complete the operation process of wire cutting, crimping, insulating and finishing. Besides that, they also play a key role in ensuring the electrical safety, mechanical stability and neat appearance of the wiring harness. The following is a list of essential tools and materials for the production process.
Basic tools
- Wire Stripper: Used to strip insulation from wires.
- Crimping Tool: Used to crimp wires to terminals, a critical process for harness quality.
- Heat Gun: Used to heat heat shrink tubing, heat shrink labels or hot melt adhesive seals.
- Soldering Iron (optional): Used to solder wire ends or the back of connectors.
- Multimeter: Used to test for on-off, resistance, voltage and short circuit conditions.
- Tie Gun / Tie Clamp: For tightening and cutting ties.
- Terminal Removal Tool: Used to remove terminals from connectors.
Common Material Classes
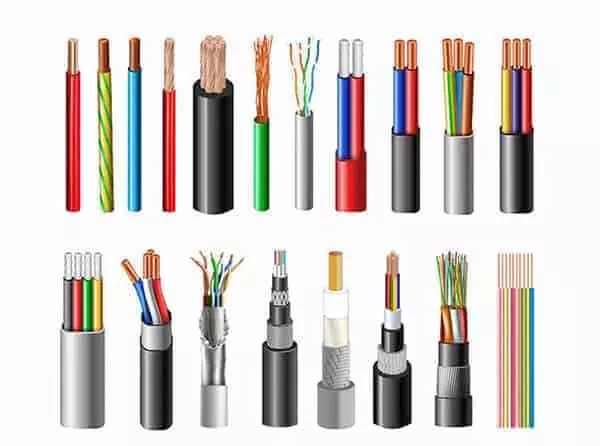
Automotive-Grade Wires
selects conductors according to SAE J1128 or ISO 6722, mostly tinned copper or bare copper. Insulation is recommended to be PVC (interior) or XLPE (high temperature). Common specifications for wire diameter are:
- Signal wire: 0.22 ~ 0.5 mm²
- Control wire: 0.75 ~ 1.5 mm²
- Power cables: 2.5 ~ 6 mm² (high power devices)
- Connectors & Terminals: Used to connect wire harnesses to various electrical devices.
- Heat Shrink Tubing: Used to encapsulate and insulate connectors. It is recommended to use 2:1 or 3:1 shrink ratio heat shrink tubing, the diameter is slightly larger than the wire diameter.
- Split Loom Conduit: commonly used in the main harness protection, with anti-abrasion and waterproof function.
- Cable Ties: Used for bundling wire harnesses to maintain a neat layout. Recommended to use high-temperature, UV-resistant nylon 66 cable ties, the length depends on the actual need.
- PVC Tape / Fleece Tape: Used to assist in winding and fixing.
- Wire Number Labels / Heat Shrink Tubing: Used to identify the function or number of each wire for easy installation and maintenance. Heat shrink labels are more durable and recommended for bulk projects.
- Fuse Holders / Relay Modules (optional)
Tips
- All materials and tools are of automotive-grade as far as possible. Better resistance to temperature, vibration and aging.
- Beginners can start with a wiring harness repair kit or wiring harness assembly kit (there are commercially available combo kits with wires, tubes, and plugs) to reduce the cost of trial and error.
How to Make an Automotive Wiring Harness?
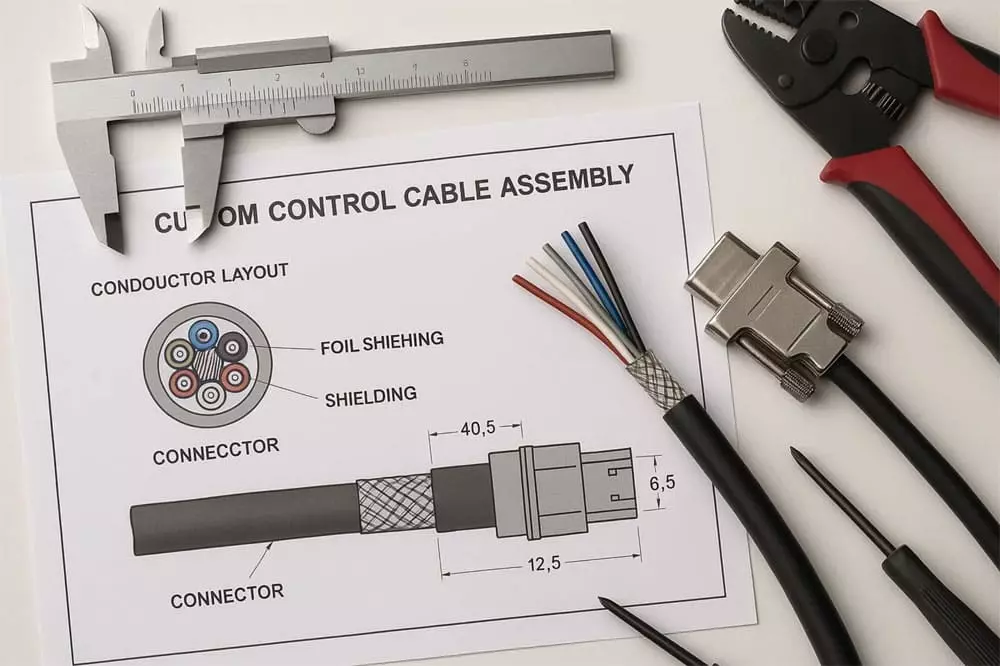
Step 1: Draw the Wiring Diagram and Routing Plan
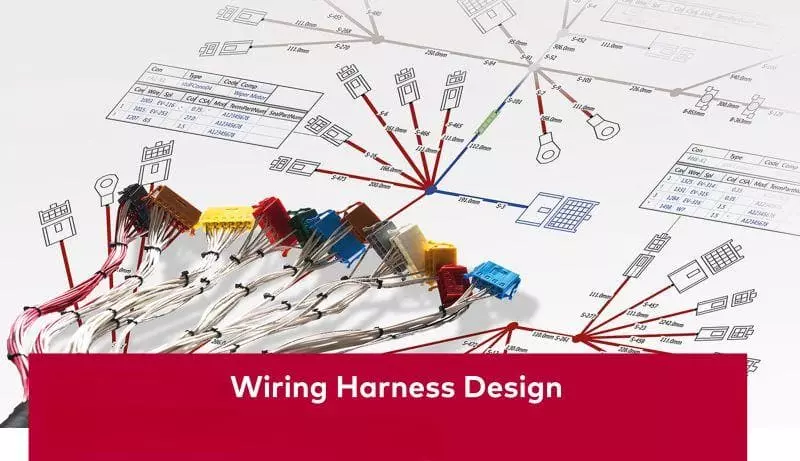
Drawing the Wiring Diagram and Routing Plan is a critical step before starting any physical operation. This not only helps you to have a clear picture of where each wire starts and ends, the current path, and the type of load, but it also prevents you from missing wires or connecting ports incorrectly.
Simple white paper diagrams, Excel sheets, or digital drawing tools are recommended. Circuit diagrams should contain:
- Each electrical device (e.g. light, fan, control module)
- Wiring point numbers or names
- Color markings for power, ground, and signal wires
- All connector locations with pin definitions
- Recommended wiring paths (e.g., around engine, away from hot parts)
Step 2: Measure and Cut the Wires
After planning the alignment path according to the circuit diagram, use a flexible ruler or sample wire to measure the actual length on the body. Remember to reserve 10~15cm margin for each wire for connector crimping, corner bending and future maintenance space.
Before cutting the wires, you can assign colors or numbers to each wire according to the circuit diagram. For example, red represents the power line, black represents the ground line, blue represents the signal line, etc., which can avoid connecting the wrong line in the later installation. The ends of the wires can be labeled with paper labels or heat-shrinkable numbering tubes to mark the port number and improve identification efficiency.
It is recommended to cut all the required wires at one time and organize them in a unified way.
Step 3: Crimp Terminals and Assemble Connectors
The next step is the most critical step in the quality of the entire wiring harness – terminal crimping. Select the corresponding terminal type (e.g., open terminal, closed terminal, ring terminal, solder cup terminal) for each wire according to its purpose, and crimp it with the matching crimping pliers. Be sure to ensure that:
- The crimp is tight and does not come loose (can be gently pulled by hand to test)
- No damage to the conductor core or jacket
- The conductor into the terminal depth is appropriate (not too long and not too short)
- The indentation is located in the effective crimping area of the terminal
Connectors should be assembled in strict accordance with the pin definition diagram to insert each terminal into the correct position until the “click” sound lock in place. Some plugs also need to be fitted with anti-dumbing slots, waterproof seals or secondary locking structures, which should not be omitted.

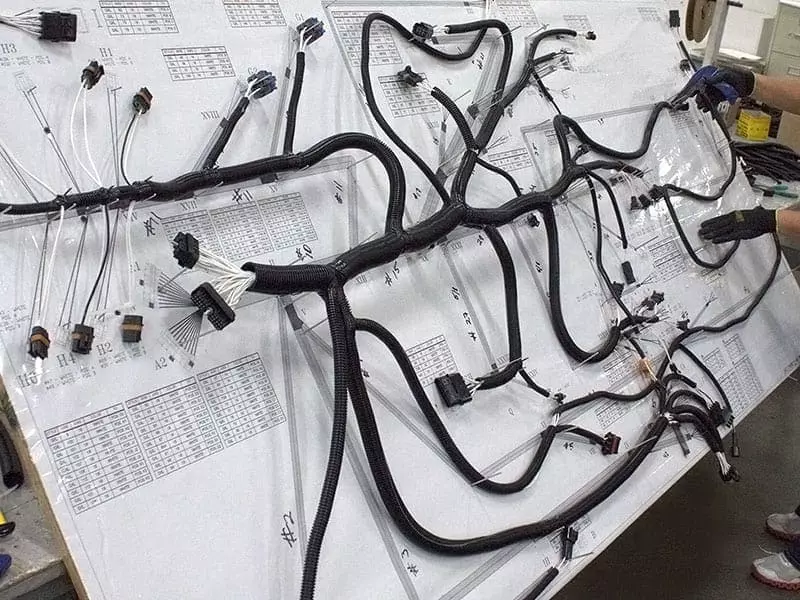
Step 4: Bundle and Organize the Harness
After all the wires and terminals are prepared, start to group the whole wiring harness modularly according to the function and bundle the trunk. Use nylon cable ties, tape and fabric tape to organize the wires in a reasonable manner. It is recommended to reinforce the branch exit with heat shrink tubing.
Wiring to follow:
- The main line in the center, branch lines clearly divided out
- Avoid crossing, knotting or tensioning
- Reserve slack in key areas (e.g. engine compartment) to cope with vibration or temperature changes.
- Modular design for future disassembly (e.g., separate door control harness, light harness).
Step 5: Insulate and Protect the Harness
In order to enhance safety and durability, wiring harnesses need to be fully protected. Especially in branch connectors, ports, and over-hole areas.
The operation includes:
- Heat-shrink tubing is applied to the cable joints and heated with a heat gun to make it fit snugly into the wires.
- Split Loom on the trunk line to improve abrasion resistance and waterproofing.
- Wrap the wiring harness with cloth or quieting tape to minimize rattles.
- Add rubber gaskets or protectors to the wiring harness where it passes through body holes or near metal edges.
Special note: In high temperature, high humidity or dynamic areas (e.g., engine compartment, tailgate) high temperature and corrosion resistant materials must be used.
Step 6: Electrical Testing and Installation
A complete electrical function test must be completed before the wiring harness is officially installed into the vehicle. Ensure that all wiring passes through properly, is free of shorts, and is connected correctly.
The following tests are recommended using a multimeter:
- Resistance test on all circuits (should be zero or very low)
- On-off test (ensure end-to-end wiring is connected)
- Voltage test (check the actual power supply after turning on the power)
- Check for reversed plugs, misplaced wiring sequence, crimped false connections, etc.

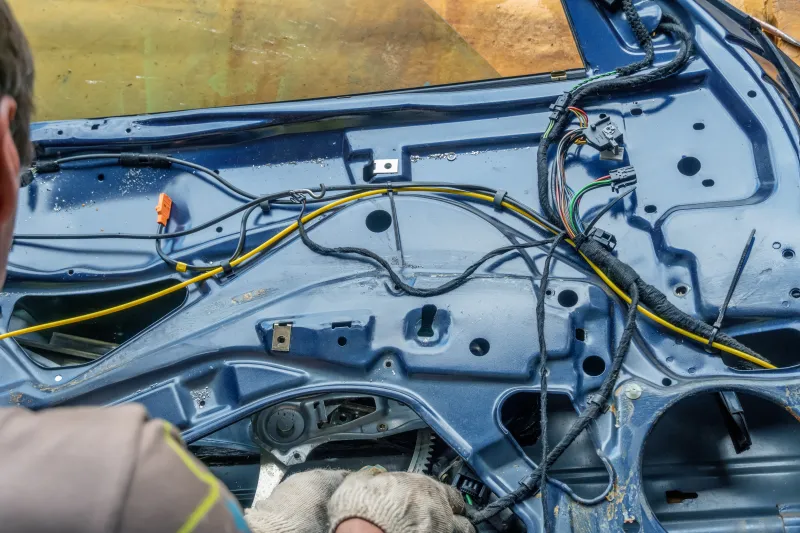
After passing the test, install the wiring harness according to the pre-planned wiring path:
- Plugs are oriented correctly
- Ties fixed reasonably, no tension or interference in the wiring harness
- Avoid close proximity to heat sources such as exhaust pipes and engines.
- All connections are tight and not loose
At this point, your set of homemade automotive wiring harness is basically complete, you can safely access the system and run the test equipment.
这是示例文本,单击 “编辑” 按钮更改此文本。
Common Mistakes to Avoid when making car wiring harnesses
1. Wire Sequence or Pinout Mistakes
This is one of the most likely and dangerous problems. Due to the complexity of the pin arrangement inside the connector, if each terminal is not inserted in strict accordance with the circuit diagram, it may lead to the current going to the wrong line, equipment burnt, or even vehicle short circuit. Especially the same type of multi-prong plug (such as 14P, 16P plug) is more likely to be inserted incorrectly.
How to avoid:
- Use numbered labels or heat-shrink marking tubes to number each of the wires
- Print a clear definition of the pins and check them as you plug them in.
- After plugging, use a multimeter to do a wire-by-wire test to make sure the wires are correct.
2. Poor or Incorrect Crimping
The quality of terminal crimping directly affects the reliability of the wiring harness. If you use a mismatched crimping pliers, crimp too shallow, clamp crooked, will cause resistance rise, poor contact. Over time it is easy to heat, ablation, intermittent power failure and other faults.
Wrong demonstration:
- Manual clamp pressure, uneven force leads to the core is not clamped
- Crimping position deviation, did not fall in the terminal crimping area
- Multi-stranded wire is not tightened, resulting in a single strand flared damage to the insulation
How to avoid:
- Use a professional crimping tool that matches the terminals perfectly.
- After the crimping is completed, carry out a tensile test (light pull) to check the firmness.
- Try to use a ratchet locking mechanism of the crimping pliers to ensure that the force is consistent
3. Missing or Incomplete Insulation
In the actual operation of make an automotive wiring harness, many people will ignore the importance of heat shrink tubing/waterproof encapsulation. Especially in the cable branch, terminal tail or connector external, if not properly insulated, it is very easy in high temperature, high humidity or vibration environment resulting in exposure, water, short circuit and other risks.
Common mistakes:
- Failure to install heat shrink tubing, or the size is too small to wrap the complete area
- Heat gun too hot, burnt or not tightened.
- Failure to make the transition wrap at the “Y” branch, sheath breakage
How to avoid it:
- Use the appropriate size double-wall heat shrink tubing and heat it at a medium temperature for even shrinkage.
- Check that each joint and branch is covered by at least 5-10mm.
- Use triple protection of bellows + tape + heat shrink tubing in high risk areas.
4. Power/Signal Line Interference
If the high-current power cable is bundled in parallel with the low-voltage signal cable (e.g. CAN, LIN, audio cable), it will cause electromagnetic interference, resulting in system malfunction, communication failure, and meter jumping.
How to avoid:
- Layered wiring, strong and weak power separate routing
- Use shielded twisted pair + single-ended grounding to enhance anti-interference
- Avoid long parallel wires when wiring.
5. Over-Tightening or Misplacing Cable Ties
Too much, too tight or wrong position of the tie will lead to deformation of the internal pressure of the wire harness. This affects the flexibility or even cuts the outer skin, where PVC sheathed wires are more susceptible to damage.
Suggestion:
- Use one cable tie every 15~30cm, not too dense.
- After tightening, use a tie gun to trim to the proper strength.
- Avoid tying the dynamic area or the part near the corner too tightly, and keep the margin.
Conclusion
Homemade automotive wiring harness may seem like a complicated project. However, as long as you master a clear process, reasonable tools, and standardized craftsmanship standards, you can completely complete a safe, reliable, and structurally clear wiring harness system at home or in the workshop. It can not only meet your needs for function expansion, custom wiring, refurbishment or electrification of old cars, but also significantly reduce costs, improve maintainability, while bringing a strong sense of accomplishment.
But it’s also important to emphasize that a wiring harness is not a simple bundle of wires; it’s the neural network of a vehicle’s electronic system. A good wiring harness means that the entire vehicle functions properly and the system runs efficiently. And a small mistake may bring a long time troubleshooting or even serious electrical failure. Therefore, even if it’s a DIY project, it’s recommended that you follow professional standards to ensure that every wire and every connector stands the test of time and environment.
🤝 Advice from Linkwings
As an engineering service brand focusing on high-quality custom wiring harness solutions, Linkwings provides one-stop support services from wiring harness design, selection review, prototype sampling, to mass production delivery.
We support personalized projects, prototype development, and small batch customization, and our services cover a wide range of application scenarios such as new energy modification, retro car refurbishment, smart device integration, and overseas export.
If you need to take your wiring harness design from drawing to reality, and develop it from a handmade project to a system solution. Feel free to contact our team of engineers and let professional experience escort your creativity.
What is the Difference Between Cat5e and Cat6 RJ45 Connectors?
Table of Contents Wh
What is RJ45 Connector?
Table of Contents In
Top 10 LVDS Cable Manufacturers in World 2026
Table of Contents In

How to Check Lvds Cable?
Table of Contents In